Tips for Properly Seasoning a Red Copper Pan
 The Red Copper Pan was one of those products that we saw an infomercial for and thought, “there’s no way it actually works that well.” The next logical step was to buy one for ourselves and put it to the test. After reviewing the product for ourselves, we were (pleasantly) surprised that it actually can perform almost as well as the commercials claim. However, like most things, these pans do need a little bit of maintenance to keep functioning optimally. In this article we’re going to give you the full rundown on how to properly care for and season your pan so it continue to perform, and last a long, long time.
Red Copper Pan Review
If you haven’t heard of the red copper pan, or you just bought one for the first time, check out our red copper pan review for more information on how it works and why you may (or may not) want one.
Seasoning Your Pan for the First Time
Before using your pan for the first time, it’s important to season it . It’s super simple, and takes barely any time at all. Here’s some instructions on what you should do.
- Step one: wash your pan with soap and water, and let dry fully. The manufacturer doesn’t include this step in the seasoning process but we like to give anything brand new a quick wash just to get anything unsavoury off that may have
 been left on from manufacturing and packaging.
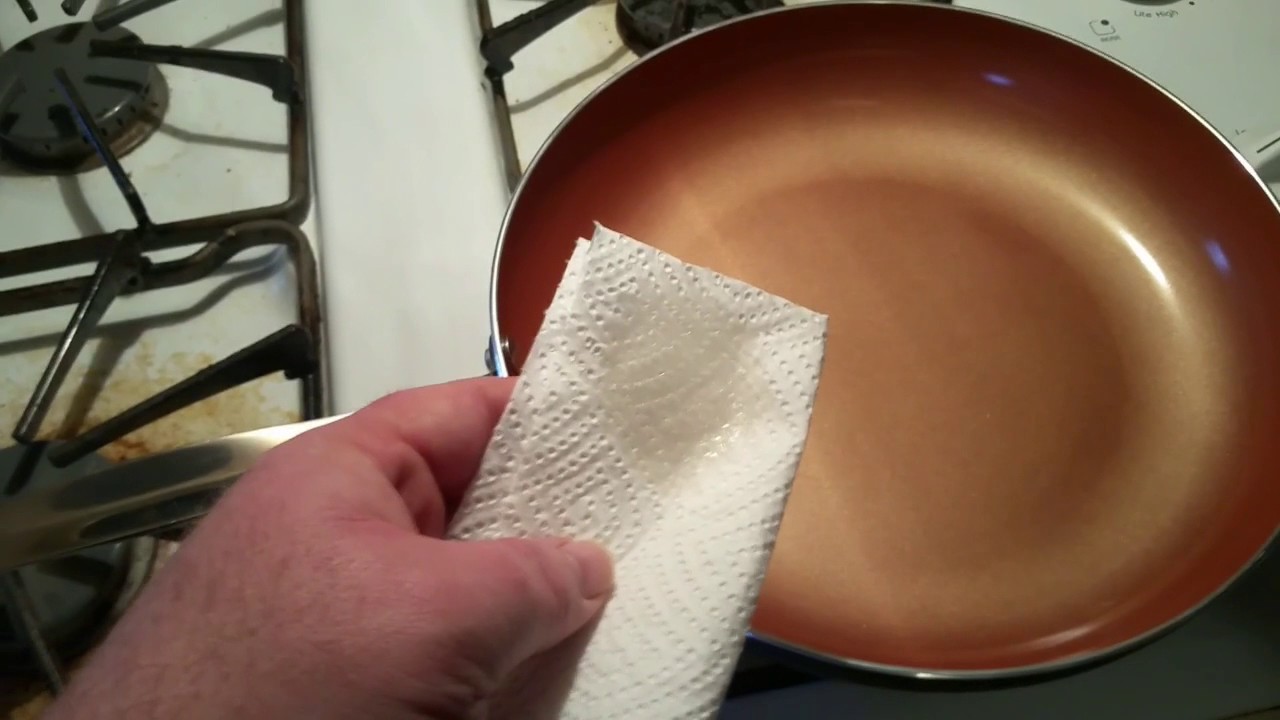
 - Step two: Once fully dry, spread a light coat of vegetable oil (you can also use coconut, avocado or flax oil here) on the entire inner surface of the pan using paper towel or a kitchen rag.
- Step three: Place the oiled pan in a preheated 300F degree oven for 20 minutes
- Step four: Remove the pan (use oven mitts!) and let it cool down on its own completely.
- Step five: Wipe away any leftover oil and you’re good to go!
How to Clean a Red Copper Pan After Use
If you’re caring for your pan properly, clean up should be minimal and very quick. Generally you can just use a paper towel to quickly wipe out any food remnants – just like the infomercial. If you do have a little tougher mess to get out, you never want to use steel wool or other especially rough and harsh scouring pads. Use paper towel or a wash cloth.
Another big no-no is to either pour water on or submerge a hot pan in cold water. The rapid cooling can warp the surface or produce other cracks and imperfections, ruining the finish.
The manufacturer recommends that you can clean the pan in the dishwasher, or use warm soapy water to clean. This makes it an awesome low maintenance product for many folks.
But, in our opinion (which is just that – an opinion) you should avoid using soap or the dishwasher to clean your red copper pan, similar to the way you care for a cast iron pan. You want some of the residual oil that has soaked in just below the cooking surface to aid in the non-stickiness of it. Even a surface that seems flat to the human eye or touch isn’t on a microscopic level. The oil fills all of those spaces making it truly non-stick. If it does get cleaned with soap for whatever reason it’s not a big deal – but it’s a good idea to re-season the pan in that event.

Re-Seasoning a Red Copper Pan
Typically it’s recommended to re-season your pan every 6 months in order to keep your pan performing at its optimal. But, if you notice the performance starting to diminish, then a quick re-seasoning is a great idea. Just follow the steps for seasoning the first time – excluding step one – and you’ll be good to go. A quick wipe with paper towel should be fine in place of soap and water.
Utensils to Use
If you want your pan to last you a long time, it’s important to never use metal utensils on the cooking surface. This includes 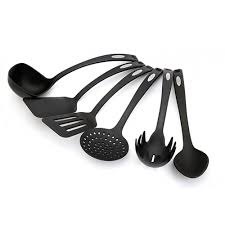 metal spatulas, spoons or forks and knives. You should also never do any sort of cutting or chopping in the pan – leave it for after the cooking process. Any sort of chip or scratch can ruin the non-stick surface and performance, and can also spread and ruin the entire surface over time.
And there you have it! Follow these simple steps and you’ll have a great non-stick pan that will last!